I had to create a simple 9V power supply for an electronics class in college.
But because I found this a bit too simple and boring I decided to make it more interesting by making my own PCB’s for it instead of ordering one from JLC or making it on a perfboard like the other students did.
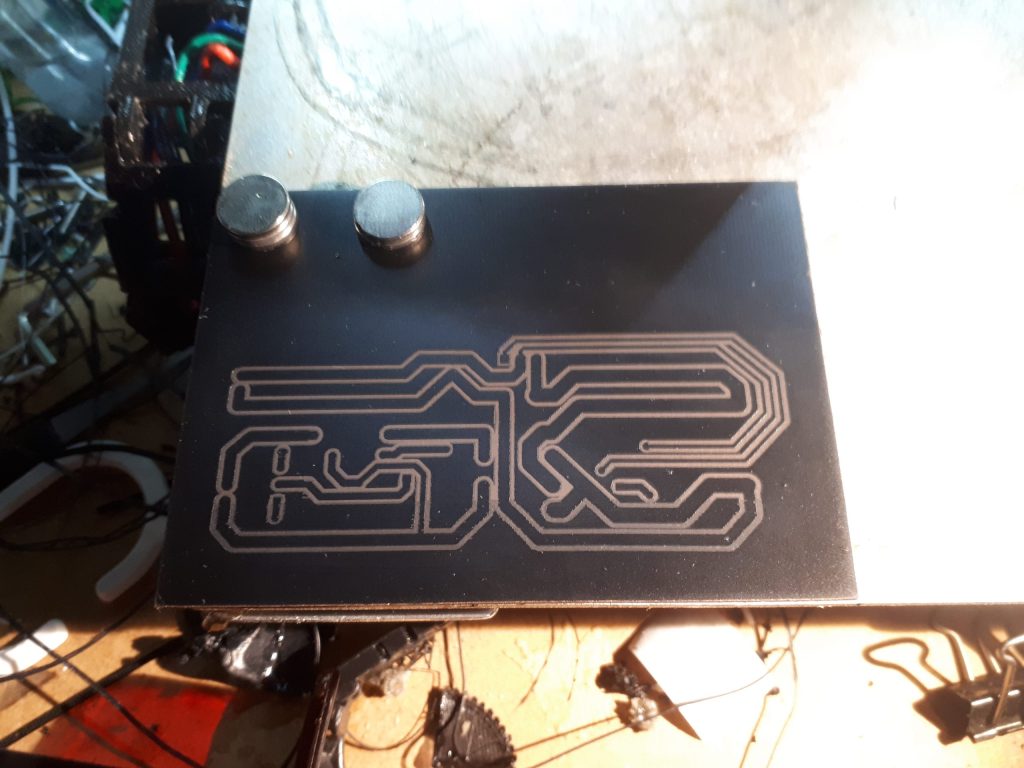
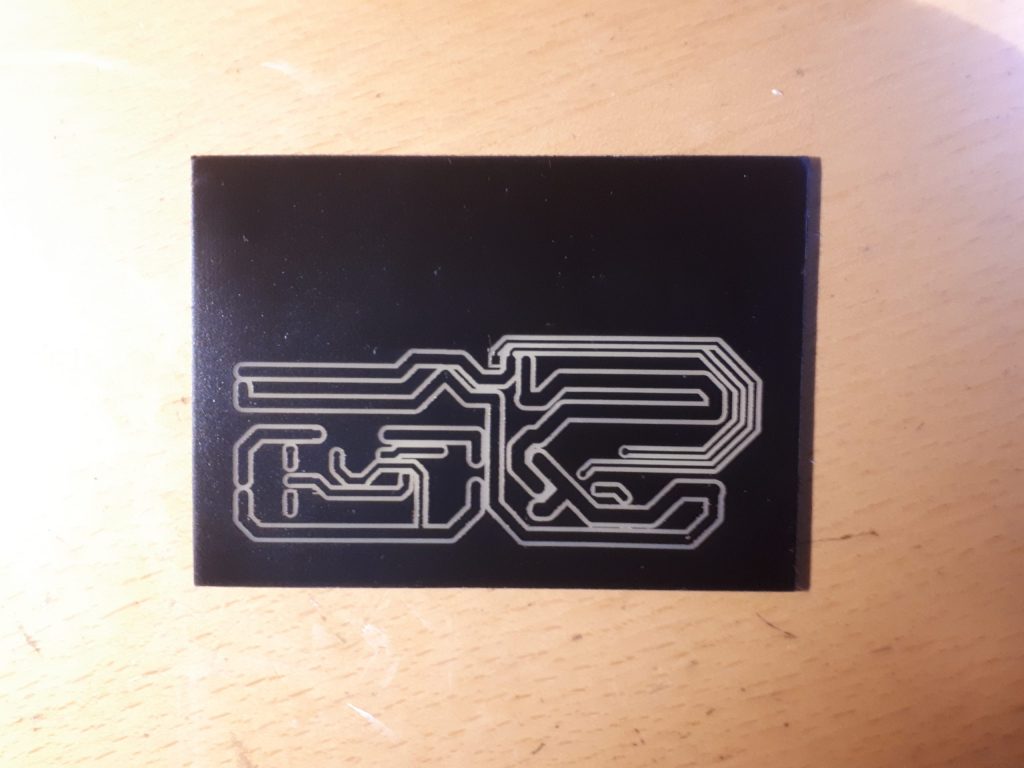
The first step is to clean a blank PCB to remove any oils or dirt that might be on it. Then apply a few even layers of black paint with a spray can.
Let it dry for an hour or 2 at least and then mount it on the laser engraver.
it did this with 2 neyodium magnets so it wouldn’t move around. some tape on the edges or double-sided tape works too.
First attempt looks good at first sight but when inspected with a microscope it didn’t look to great.
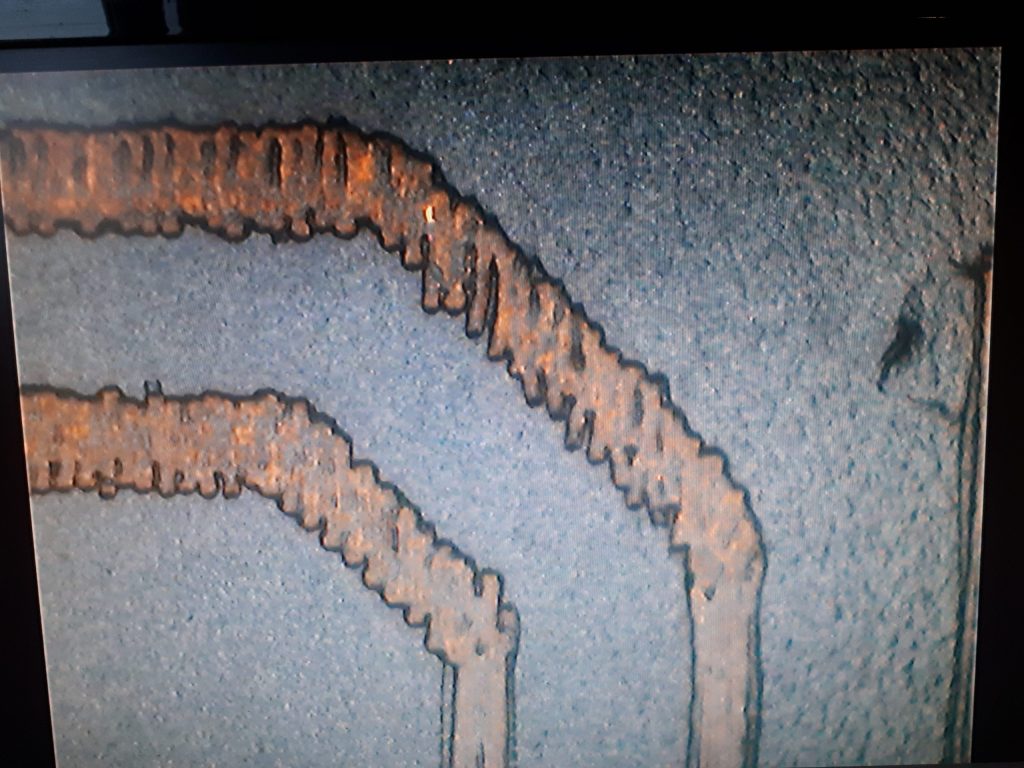
Adjusting the laser head and slowing the movement speed the improved the quality a lot with the second attempt
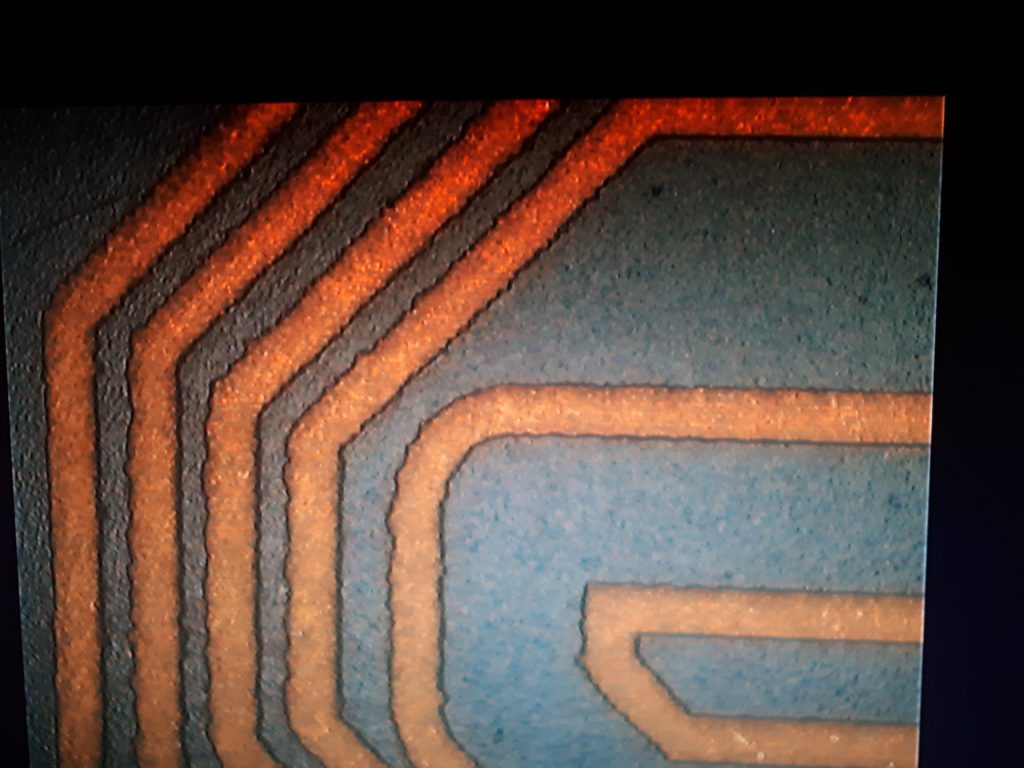
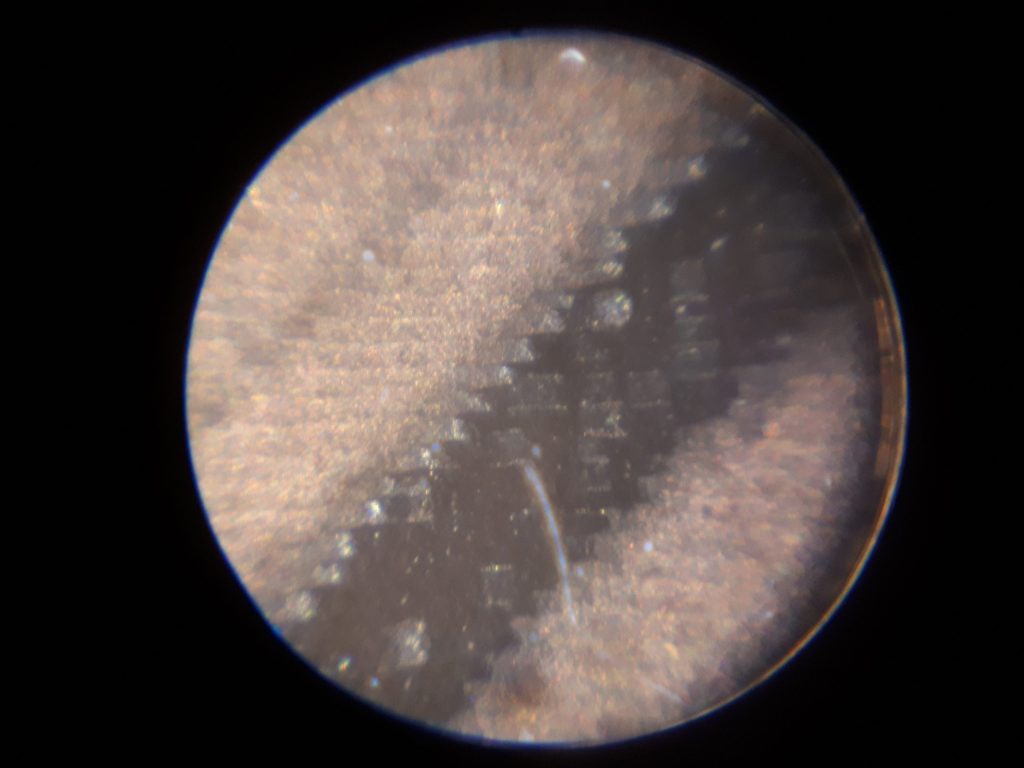
When looking closely at the smallest features the staircasing can still be seen.
But it’s more than small enough for even some tiny smd parts.
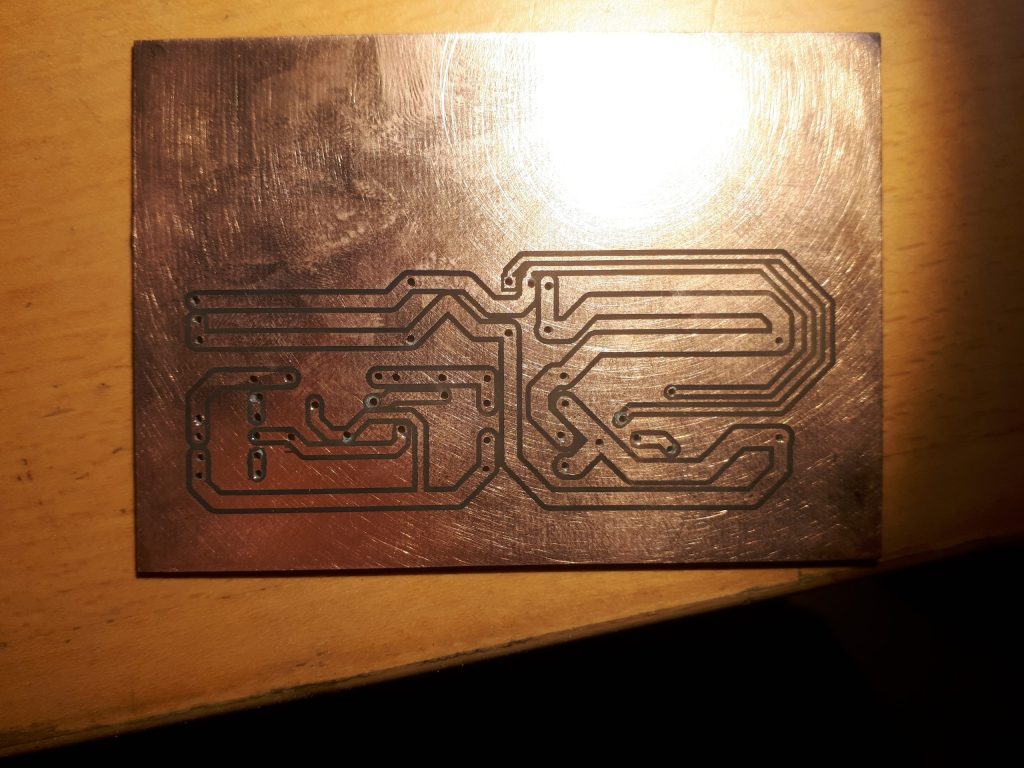
Letting the PCB soak in aced for +-10 minutes removed all of the exposed copper.
After removing the paint with acetone a nice PCB is left.
I tried to drill small holes but my drill heads kept breaking, so I had to use a 1mm drill that was slightly too large for the smaller pcb tracks.
Acid
I used a self made acid solution to dissolve the copper from the PCB.
The solution used 2/3 Hydrochloric acid(30%) , 1/3 hydrogen peroxide(7%).
The key chemical reaction is:
Cu (solid)+2HCl (aqueous)+H2O2(aqueous)→CuCl2(aqueous)+2H2O(liquid)
- Copper (Cu) is oxidized from metal (Cu⁰) to copper ions (Cu²⁺).
- Hydrogen peroxide (H₂O₂) is the oxidizer.
- Hydrochloric acid (HCl) provides chloride ions (Cl⁻), which combine with Cu²⁺ to form copper(II) chloride (CuCl₂) — a green solution that dissolves copper.